I am growing stuff! I can call myself a gardener. I cannot yet call myself a successful gardener, but that day will come when we can actually eat what I'm growing now :)
So here is how my garden is looking today.
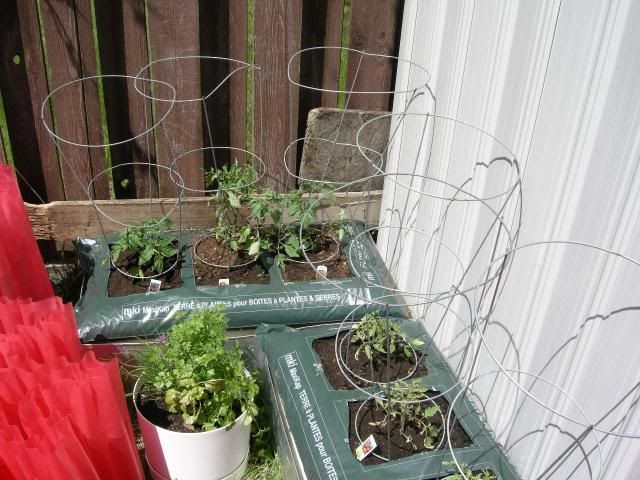
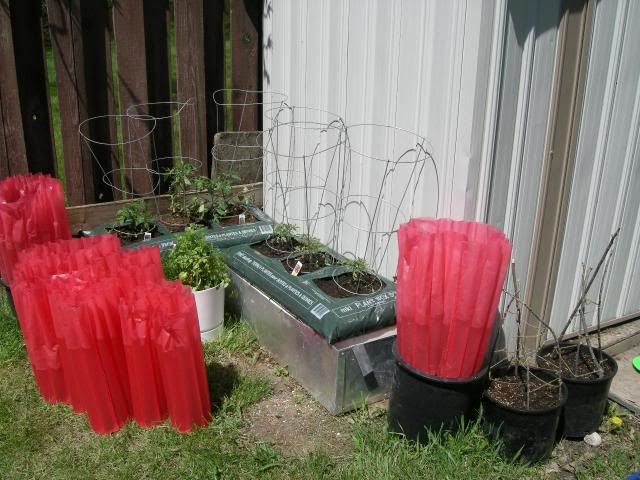
My tomatoes are doing pretty good. A few edges are crinkled from the night chill, but all in all they're strong. I have a couple still in kozy coats, those are looking great. They're growing in Maxikaps which you can find at Garden Retreat in Calgary. My herbs are mostly good, although I think I will be replacing the basil soon, it wasn't hardened off enough I don't think.
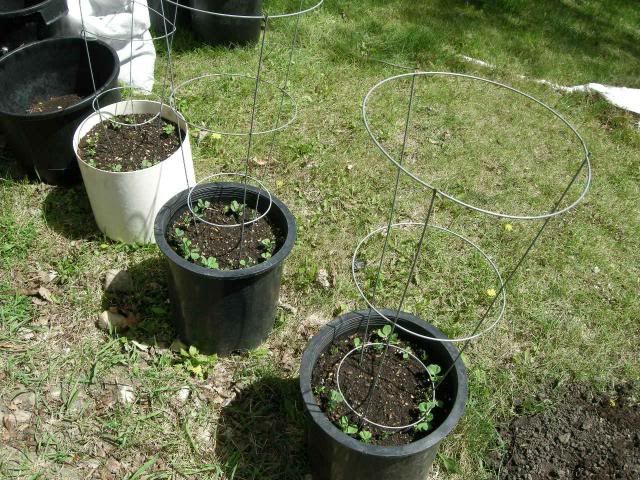
My peas are doing great! This is the first batch, I planted the seeds April 30th (so about a month ago. As this is my first year, I have no idea if that is slow, fast or right on track for where they should be, but I love seeing them come up and develop! My second batch (planted two weeks later on May 14th) have started to show. Not sure if I should do a third batch, I've almost run out of room for pots.
My beets are everywhere! One of my favorite garden veggies, I hope these are successful. I planted the seeds May 12th, so this is about two weeks later. Now I have to start learning about thinning out.
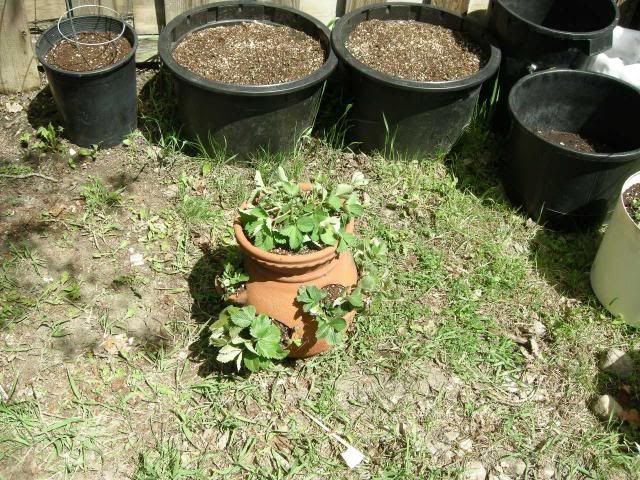
And here is my newest addition, my strawberry pot. I wasn't going to do strawberries, as I understand they don't really fruit until the second year, and I probably won't be able to overwinter them. But my mom kindly shared her plant credits at this years Calgary Horticulture Plant Share, and so I picked up a bunch for free. If they don't work, oh well, hopefully they'll flower and look pretty anyways.
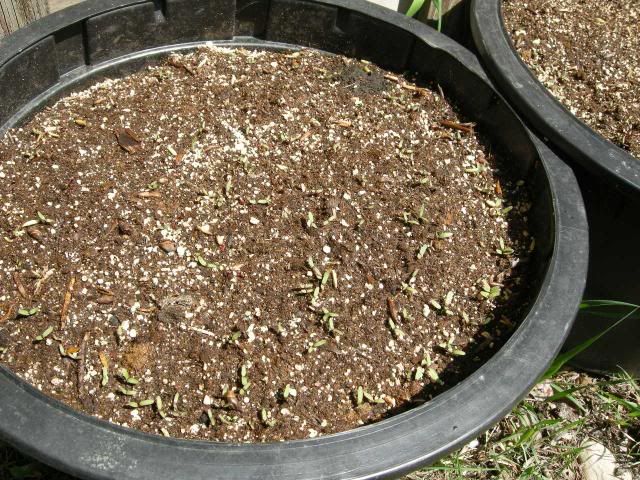
I have moved my lettuce to the side of the shed, there is less light in the afternoon so will hopefully keep them cooler. I can't tell if they're all coming up wonderfully, or if that's just all weeds from the compost. My other containers don't look like that, so I'm hoping it's all lettuce shoots! I planted these seeds on May 15th, so again just under two weeks.
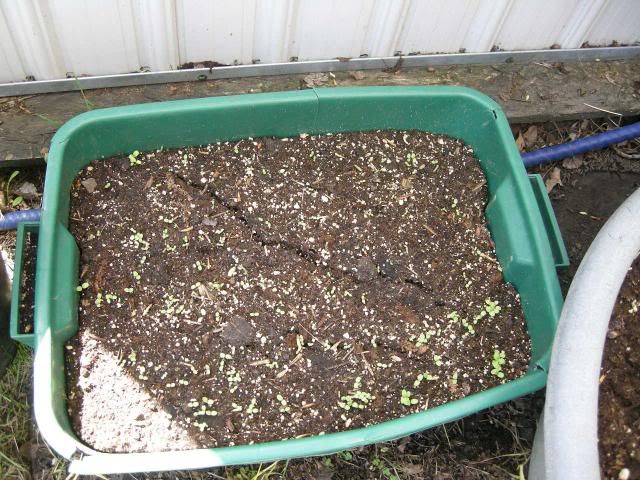
The spinach is looking great. I'm hoping this will turn out to be an easy and yummy veggie to grow, we love spinach! The seeds were also planted May 15th.
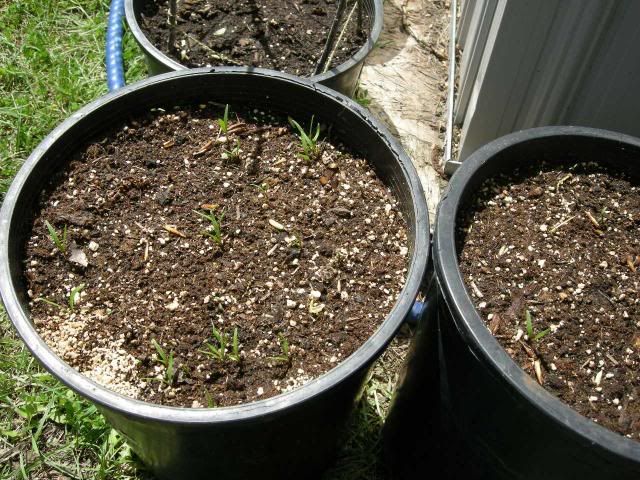
I didn't bother taking pictures of the zucchini. They're still under the cloches, so you can't really see them anyways. But they're doing great!
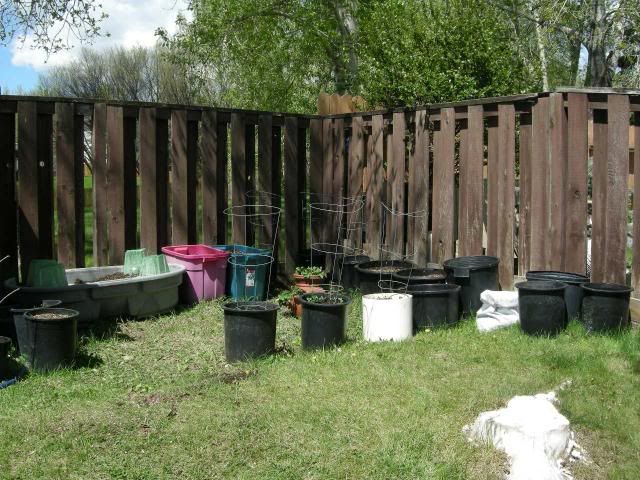
And here are my vegetable gardens from afar. It still looks pretty junky filled with old containers, but soon, it will be big growing plants!
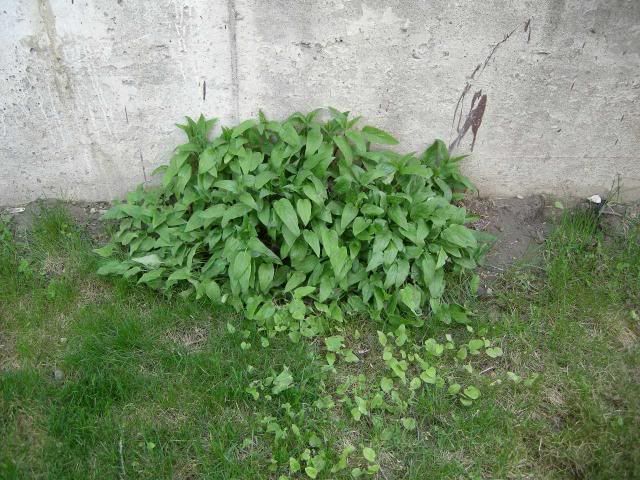
This is a perinnial that obviously some previous tenant had planted. I have no idea what it is, but I have two big mounds of it growing. I had to prune back some tall stems, so I'm hoping its something pretty! Anyone know what it might be?
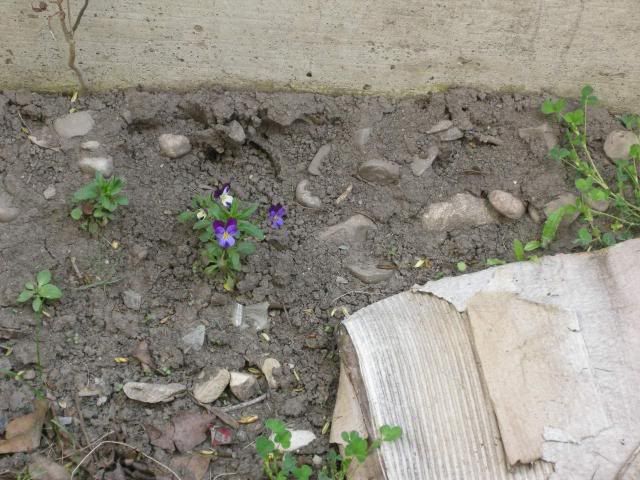
And here is a nice surprise. In the ugliest area of our yard, beside the composter and recycle bin, a sweet little Johnny Jump Up has made an appearance. In such a destiture area of the yard, I love to see it's happy little face smiling up at me every day.
Moving out to the front yard, the flowers are starting to come up. Here is a barrel with some sunflowers growing quickly. Those sprouts weren't there yesterday! The seeds were planted May 15th. There are also marigold seeds planted in the same container, but I don't see them yet.
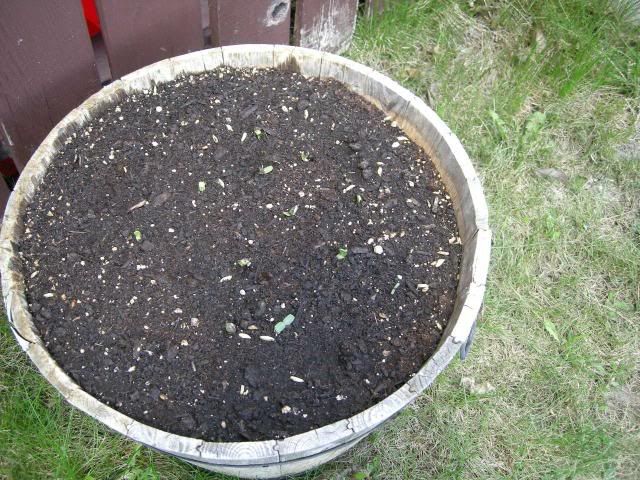
My scarlett runner beans haven't made an appearance yet. Maybe tomorrow...
But my cosmos are up! Both containers are chock full of 'em. I planted the seeds May 14th (same day as the scarlett runner beans).
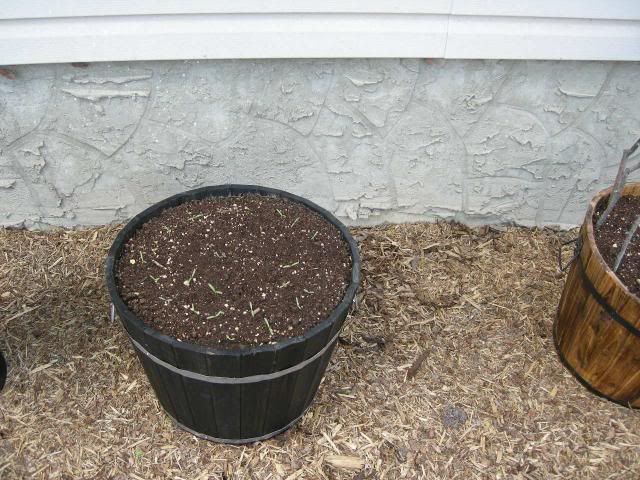
My snapdragons aren't up yet either (another May 14th seeding). Again, maybe tomorrow, it's amazing how one day they're just all there!
And my sweetpeas are doing fantastic! Some even have tendrils and are starting to grab onto the branches.
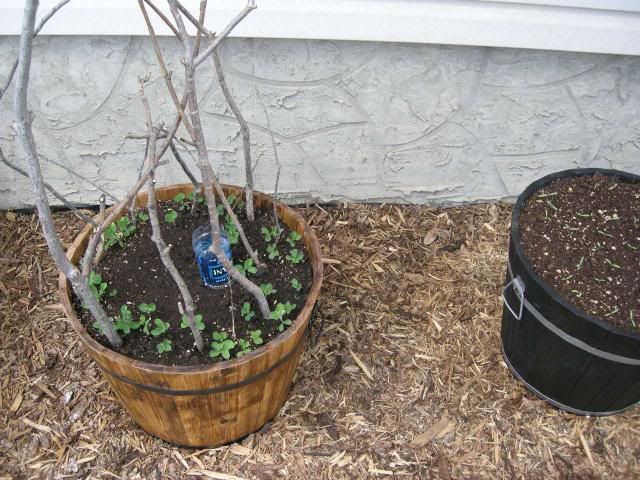
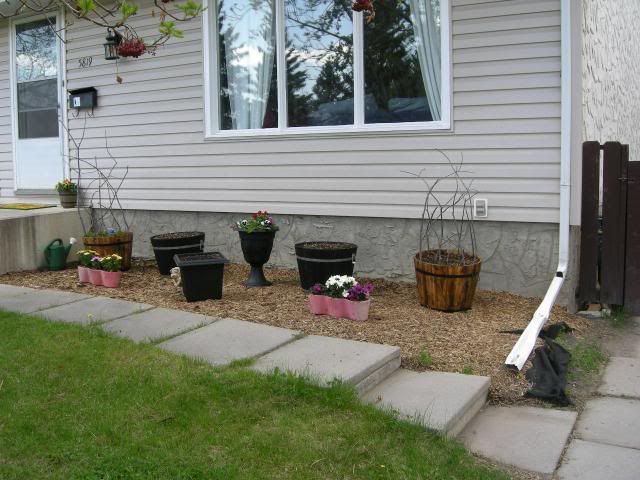
And here is my front garden. Much better than how it started don'tcha think?
Wednesday, May 27, 2009
Tuesday, May 19, 2009
The Garden - Early Beginnings
This past weekend was the 'long weekend', where many Calgarians (and probably many Canadians in general) take to their yards, put their gardening gloves on, and start the season.
I was out there too!
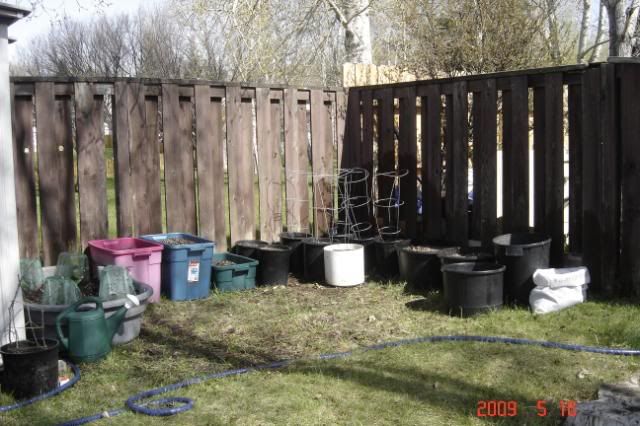
But luckily I've already been working on my garden, so there wasn't a ton for me to do. But I finished planting all my seeds and got the first of my potatoes planted too! So there isn't really anything to see yet, but here is how my garden looks now!
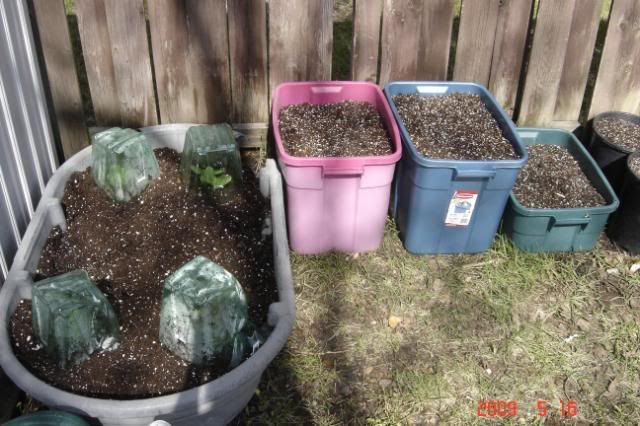
In the large trough is four zucchini's. More then I'm sure we'll need, but we'll be sharing :) The pink container is carrots, and the tall blue container is a different type of carrot planted a couple weeks later.
In the small blue container is my leaf lettuce. And the two black containers beside it are spinach. Both of these are totally new to me, I'm really excited to see how they grow!
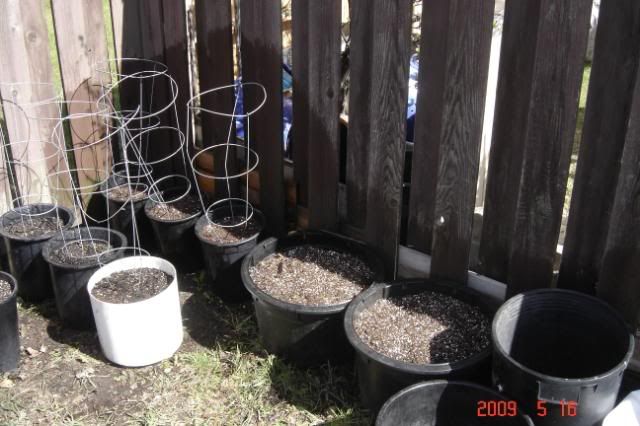
Here are my peas! The two black and one white were planted a couple weeks ago, with a second batch in the other three black pots. Hopefully this extends our pea enjoying season! And the two large black pot's are beets, maybe my most favourite garden veggie of all!
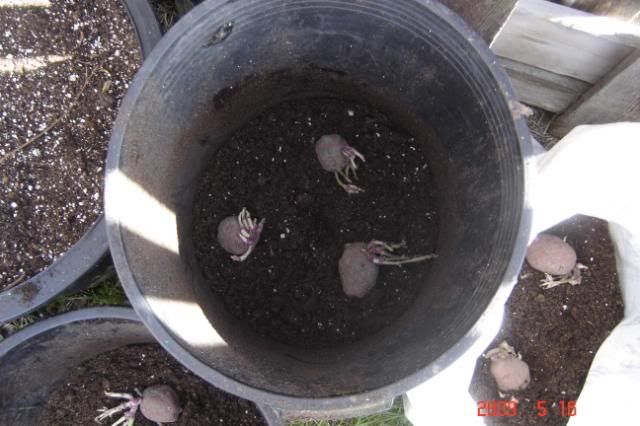
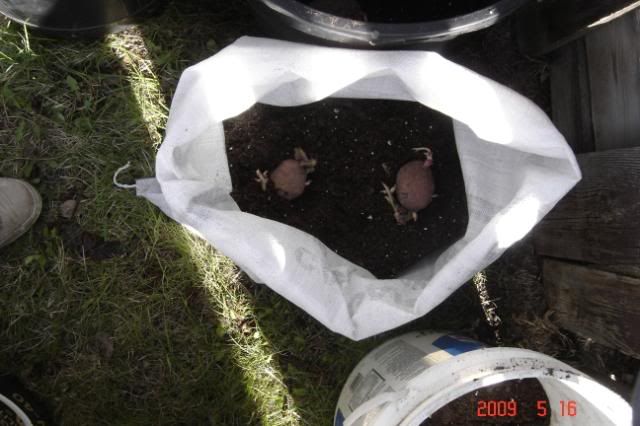
And then my biggest experiment, my potatoes! I have two large pot's and a bag. As the potato grows, I will continue to mound the dirt up, rolling up the sides of the bag as it grows. I do want to plant a few more next week to again extend the growing season (and as plan B in case these don't grow well).
And I didn't know much about spacing, and have been reading contradicting information about 'chitting', so I just stuck them in there and we'll see how they work!
And here is the garden in all it's stunning beauty (cough cough, hahahaha, cough, cough)...
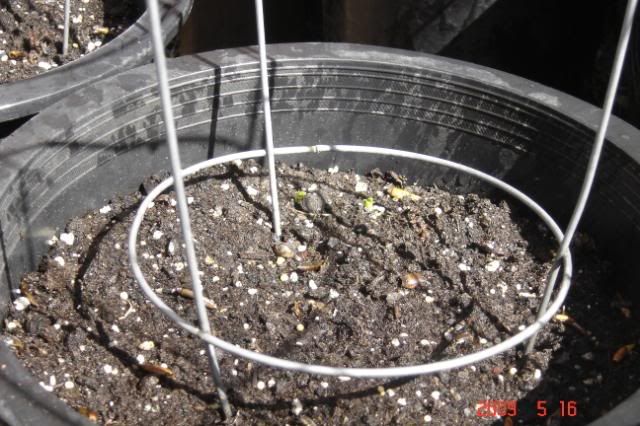
Of course, when everything starts growing, I think it will look wonderful. And here is the first of the bunch, a few pea shoots. And as of today (a few days later), each pot has eight! Here we go!
Labels:
garden
Saturday, May 16, 2009
Make shift mini greenhouse
I just haven't been able to stop myself from buying a few plants, even though I'm still a few weeks away from being able to plant them out. So what to do, what to do? Well, I could buy one of those plastic mini greenhouses, you know the green ones with the zipper? They're not terribly expensive, but still not something I want to put my money into, and why buy something else when I can make it myself for free? And this project comes courtesy of my mom, who had an excellent idea that is working fantastically.
She had recently purchased two new comforters. They come in those big plastic bags, she was about to throw them out. But instead, I now have a greenhouse! It's perfect, when it starts to cool off a bit in the evening I zip it close, and open it when it warms up in the morning. Last night was extra chilly, so I put a blanket over top just in case. I also put a couple pieces of duct tape over the holes that the carry straps go through. This has enabled me to start my plants a few weeks early. Next year I will trying growing a lot more of my stuff from seed indoors, and using this method to get them outside and hardening off.
Great idea Mom!!
Labels:
garden
Wasp Nests
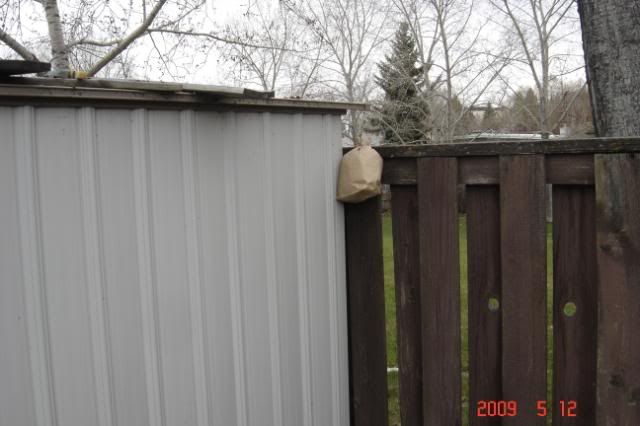
While browsing another of my favorite blogs, Calgary Garden Coach (which is fantastic considering I live in Calgary!), I found a great, simple, and FREE idea to make fake wasp nests. Basically you make a nest and hang it in potential nest spots to deter the real wasps from nesting there. So simple, yet I see the fake nests on 'sale' for around 2/$5 or more. However, this is a project that requires zero crafty skill, I'm betting you already have the supplies on hand, and takes literally two minutes.
Take some old newspaper and crumple in balls. Stuff into plastic shopping bag and tie closed. Stuff this into a paper lunch bag. Hang up in the corners and other places wasps may like to nest in your yard. Done! Even with my 'helper', this took literally minutes to do. I really hope it works!
Labels:
project wasp nest
Sunday, May 10, 2009
Self watering pots
I have a bit of an addiction to African Violets. I'm sure everyone knows what they are, you see a gazillion of them in places like Walmart and Home Depot, and I think everyone's grandmother had at least one (mine sure did!). It's easy to write them off. But I adore them. And I come by it naturally. My Nana had Afican Violets, and my mom has quite an enviable collection herself. And sure enough, I'm following in their footsteps. I get swept away by their sparkle. Its Mother Nature's very own glitter. And there are so many different types, different foliage, different colours. I'd love to have one of each!
But one tricky thing about these (and maybe why people claim not to have any luck with them) is they are a tad picky about water. You don't want to get water on the leaves. And you don't want to over or under water, they like constantly moist soil. So you can get actual African Violet pots that are self watering. My mom has lovingly potted my African Violets, and the system is perfect.
The water seeps from the outer pot through the inner pot keeping the plant perfectly moist.
But these pots are a little pricey. And sometimes you just need a temporary setup. I have two baby mini African Violets I bought at the Home and Garden Show last month, and I have a cilantro that I bought a few days ago that I can't plant outside yet (still too chilly here!). So after a round of googling (my favorite activity it seems) I decided to try out a few temporary solutions. They could be more permanent, but they aren't the prettiest. And I prefer to showcase my special treasures.
So the first one is the pop bottle trick. Easy and free (as long as you drink the pop first!). Take a pop bottle. Cut it in half. Take a scrap piece of fabric (100% cotton). I knotted it several times to make a ball, then tied another piece around the ball to make a tail. Invert the top half of the bottle, the tail of the cotton hangs out the hole, plant your plant. Fill the bottom half of the bottle with water, place the top half of the bottle into the bottom half with the tail of fabric hanging in the water. The water will wick up into the soil keeping your plant happily watered. I've done a horrible job explaining this, hopefully a picture (or two) is worth a thousand words. This seems to be working great, and actually doesn't look as bad as the others, but I still would only use this in a pinch.
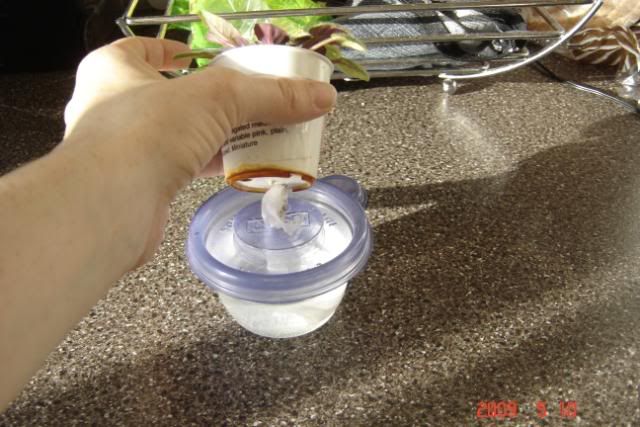
My next solution is super simple. Take a little disposable plastic container with lid. Poke a hole in the lid. Take a scrap piece of fabric and poke it into one of the drainage holes of the plant pot (I used a chopstick) and poke the bottom of the fabric through the hole in the lid. Fill the container with water, put the lid on and the plant sits on top. Definitely not pretty, but again, seems to be working great.
And my last solution is not for an African Violet, but for my house bound cilantro. I have had to keep on top of watering it every day, so hopefully this will keep it happier until I can plant it out in a few weeks. I used an extra measuring cup, but any container would work. I took a plastic lid (peanut butter in this case), poke a hole in the top. Took my scrap fabric, poked it up into the plant pot and poked it through the hold in the lid. Set the lid in the container, and filled the container to just under the top of the lid. Remember, you want the water to wick up slowly, you don't want your roots sitting in water.
So all these are perfectly functional, and totally free. But as I'm sure you'll all agree, not pretty. However, I just can't bring myself to buy the special pots, and I'm pretty sure I've come up with a much better permanent solution, so will be posting that soon! And in the meantime, my plants can drink as much as they need :)
Saturday, May 9, 2009
DIY free compost bin!
I love my indoor worm bin, but really it's just for fun. At this point they don't eat nearly enough to make a dent in our food scraps. So hubby and I have been talking about a proper outdoor compost bin (actually I've been talking and he's be patiently listening). But with the chance that we might move in the next year, having a proper compost bin that sits open on the ground wasn't very appealing. Hubby was thinking ahead to having to shovel all the compost up to move it. So after a bunch of googling, I found a very easy and FREE solution! One of my favorite blogs, Simple Mom, has a great tutorial. And today, I made my own compost bin :)
When we moved into this house, the previous tenants had left behind a very nice, very large rubbermaid garbage can on wheels with a locking lid. We really haven't used it. So voila! It now has a purpose! We have a perfect spot in our side yard (which is basically just our dog run anyways). It gets quite a bit of sun surprisingly. So I took hubby's handy drill with 1/2" bit, and drilled a bunch of holes around the bin. I also drilled a couple in the bottom for drainage. I didn't know if I should put a few in the lid, so I didn't. I figured it's easier to do it later if I need to rather than trying to fix it if I did it wrong. I just don't want to much water to get in there (rain/snow). Also, to help with drainage, it's suggested that you should put the bin up on bricks. I didn't have any bricks, and I certainly didn't want to have to get more 'stuff'' for a project that's sole intention is to reduce. So I just picked up a ton of rocks that were lying in our side yard and made a rock pile. Seems to work great! (and *ahem* they were free!).
So now my bin is ready and it's time to start filling it. Most recommendations seem to be you're working for 2/3 'brown/dry' material, and 1/3 'green/wet' material. The green part is easy. Kitchen scraps (fruits and veggies. NO meat, dairy, fat or breads). Fresh grass clippings, plant prunings, coffee grounds (and filter) and tea bags also count as green material. This is the nitrogen portion of the bin (I think!! I'm a newbie, please correct me if I'm wrong!!!). The brown part is things like old dried leaves, cardboard and newspaper (although those should be minimal). This is the carbon potion of the bin. Any plant like material that you put in your bin should be free of any chemicals/pesicides. You don't want that stuff ending up in your future vegetable gardens!
I was a little worried about the brown material. I wasn't sure how much I would need, and I was super low on old leaves. Just a few weeks ago I went around and totally cleaned/raked my yard and sent off all that awesome perfect brown matter to the landfill (insert regret and crying face here). But along my neglected side yard there was still old leaves! So I gathered up a bunch of those, and filled my bin probably just a foot deep (which really isn't much considering how my air is in the pile). I also added a little cardboard that's been sitting in the side yard for awhile now that we haven't dragged down to the recycle centre.
Now I will continue to add green material, then a layer of brown. So basically every time I add my kitchen scraps, I'll add some leaves, paper, whatever.
Now, with this bin system, you should roll the bin every few days, or at least once a week to make sure its got plenty of air circulation (or just stir). This should result in awesome compost in 4-6mths (from what I've read!). I have no desire for compost come October, I'm really just a lazy composter looking for a place to dump my scraps. So I probably won't be doing much rolling or stirring, We'll see what it looks like next spring wherever we are (hopefully some place with awesome raised beds!).
Oh, and I just have to mention again, this whole project cost exactly $0!!! My favorite price!
Container Vegetable Garden
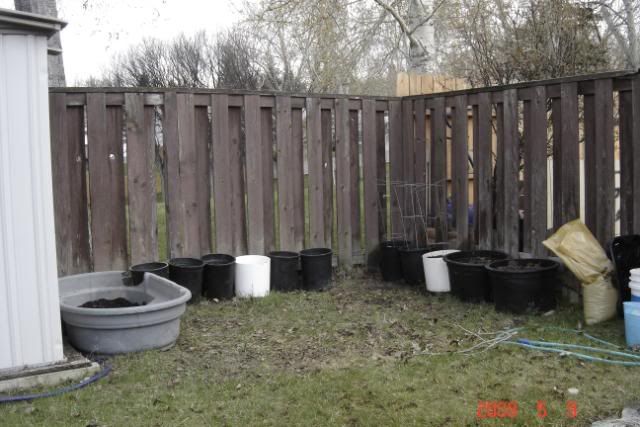
So as I mentioned in the last post, we're renting our current house. Our backyard is huge, but there is no vegetable garden in it, and again I didn't want to put the money and sweat equity into making a permanent veggie patch. So what's a gal to do?
Get containers! And because these are in our backyard where no one really sees them, and they'll be covered in yummy plants soon, the containers don't have to be pretty. So far the only criteria is that they have to be free!
So thanks to my mom for providing me with so many awesome containers (especially the old trough, best thing ever!) and with a ton of compost, and with actual Maxi-Caps for my tomatoes (that's a huge donation!), I have a great set up for my veggies!
Here is one corner of the yard. Here I have used up some extra knee high sweet pea seeds to add a little colour to the yard. Beside the shed is where I have the Maxi-Caps set up. They will hold six tomatoes, but I still have a ways to go before planting those seedlings! And a container for my herbs. I just have chives in there now, but I have cilantro in the house waiting to go out, and will have basil as well.
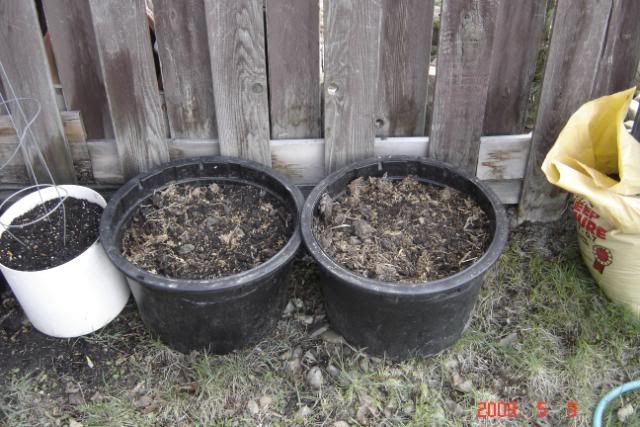
Then on the other side of the shed is the rest of the garden. The big trough will house zucchinis. I have three containers of peas, with three more to plant next week. The two big round containers will be beets, and there will also be two rubbermaid bins with carrots. And I'm still debating if I want to do some lettuce. I'm thinking I will, but will decide later for sure.
And because no garden is complete without potatoes, I will of course be doing potatoes too! But these will be a little more unconventional. With all the wonderful information out there on the world wide web, I've decided to plant my potatoes in plastic bags. Basically you fold the bag down, fill it 4-6", plant your potato. When it grows a few inches, you top it up and roll up the bag. Continue until the bag is full! Apparently this works great and results in huge yields. I figure it doesn't hurt to experiment! You can just see one of the bags I'll be using, but I don't actually have them set up yet.
So at this stage, it's all far from pretty. But the cost has been minimal (thanks mom!!!), and will hopefully result in yummy food on our table, and at this point, that's all that counts. Plus once all the beautiful plants are growing, who cares (or can really tell) what they're growing in?
Labels:
garden vegetables container
Subscribe to:
Posts (Atom)